Ready to Get Rid of Shower Mold?
If you’ve ever stepped into your shower and noticed dark patches creeping along the grout lines, or that musty smell that lingers even after a deep clean — you’re not alone. Mold is a persistent and unwelcome guest in many bathrooms. But the good news? You can get rid of it safely, effectively, and without harsh chemicals, if you follow the right steps.

What Is Shower Mold, and Why Does It Grow There?
Mold is a type of fungus that spreads through microscopic spores in the air. When these spores land on moist surfaces, they can start growing within just 24 to 48 hours.
Showers provide ideal conditions for mold to thrive. The constant moisture from daily use creates a humid environment, while the warm temperatures—typically between 77°F and 86°F—support rapid growth. Showers also contain organic material like soap scum, shampoo residue, and dead skin cells that serve as food. On top of that, poor ventilation in enclosed bathrooms slows evaporation, allowing moisture to linger.
Together, these factors make your shower a prime target for mold growth.
Common Shower Mold Types:
Several types of mold commonly appear in showers.
- Cladosporium is one of the most frequent, typically olive-green to black in color, and often found on tiles and fabrics.
- Aspergillus, which appears white with black spots, is another common type and may trigger allergic reactions in sensitive individuals.
- Stachybotrys chartarum, often referred to as black mold. It can release harmful mycotoxins under certain conditions and is considered more hazardous to health.
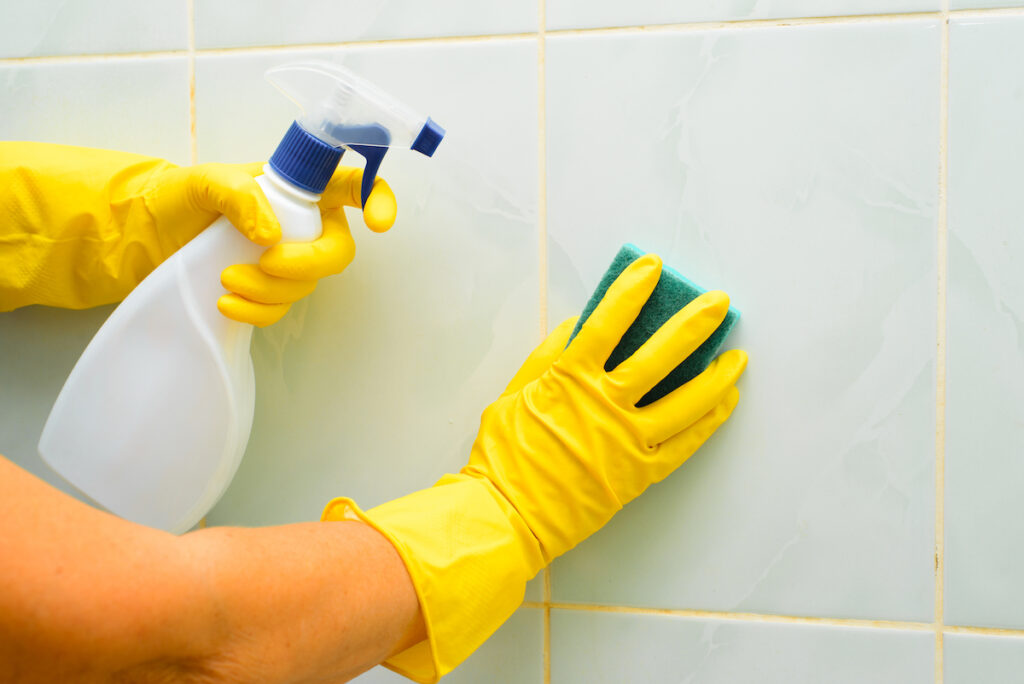
Step 1: Stay Safe Before You Scrub
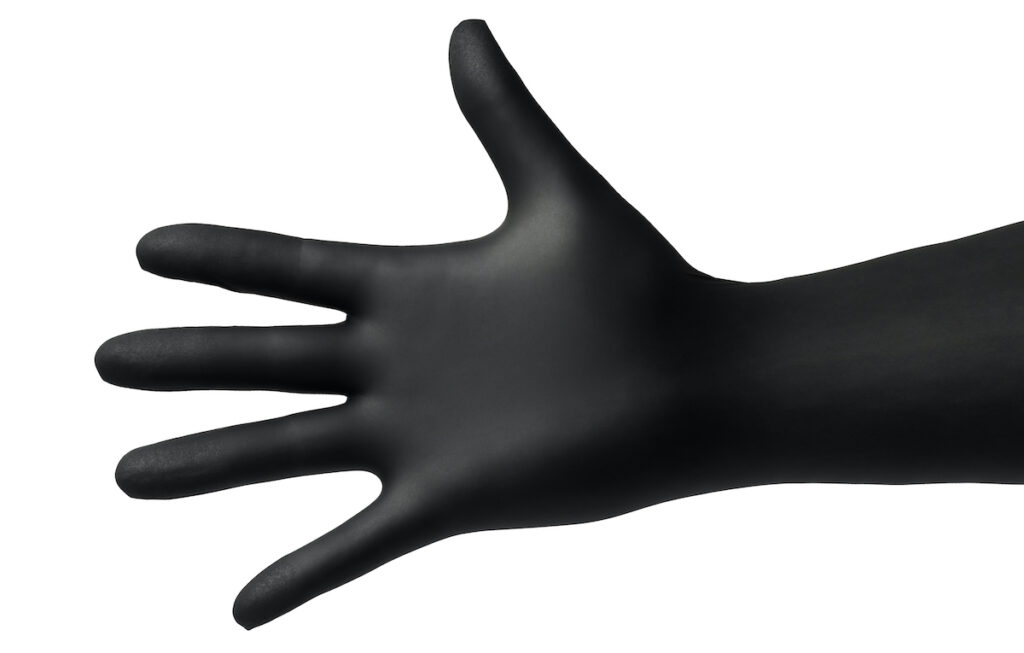
Mold can irritate your lungs and skin, especially in large amounts or for people with allergies. Before cleaning, protect yourself:
- Wear gloves (nitrile or rubber)
- Use an N95 mask to avoid inhaling spores
- Protect your eyes from chemical splashes
- Ventilate the space by opening windows and running exhaust fans
If the mold covers more than 10 square feet, the EPA recommends calling a professional, as it may have spread behind walls or under flooring.
Step 2: Choose the Right Mold Removal Method
Mold removal isn’t just about wiping visible stains — it’s about killing the spores and removing the environment they thrive in.
Here are three science-backed methods, from gentlest to strongest:
Method 1: White Vinegar and Baking Soda (Natural & Non-Toxic)
This method works due to acetic acid in vinegar (pH ~2.5), which denatures proteins and dissolves mold cell walls.
Supplies:
- White distilled vinegar (5–6% acetic acid)
- Baking soda (sodium bicarbonate)
- Spray bottle
- Old toothbrush or scrub brush
- Microfiber cloth
Instructions:
- Spray undiluted vinegar directly onto the moldy area.
- Let sit for at least 60 minutes.
- Sprinkle baking soda on a damp brush, scrub thoroughly.
- Rinse with warm water.
- Wipe dry.
Why it works: Vinegar kills about 80% of mold species. Baking soda is mildly abrasive and raises the pH, which molds dislike. Combined, they form carbonic acid temporarily, adding a fizzy cleaning effect.
Method 2: Hydrogen Peroxide (For Persistent Mold)
Before applying any mold removal method, it’s important to know what your shower is made of. Acrylic and fiberglass are common materials in modern showers because they’re affordable and easy to clean.
However, they can be scratched by abrasive scrubbers and may become discolored if exposed to strong acids or bleach for too long. If your shower is made of acrylic or fiberglass, stick to gentler methods like vinegar or hydrogen peroxide, and always test in a small, inconspicuous area first.
For tile and grout, stronger solutions like bleach may be effective, especially when dealing with stubborn mold in porous surfaces. Natural stone showers (like marble or granite) require special care—avoid acidic cleaners like vinegar, as they can etch or dull the surface. Always check the manufacturer’s cleaning guidelines when in doubt.
Instructions:
- Pour 3% hydrogen peroxide into a spray bottle.
- Spray directly onto moldy surfaces.
- Wait 10–15 minutes.
- Scrub with a brush.
- Rinse and dry completely.
Why it works: Peroxide’s bubbling action penetrates porous surfaces like grout. It also bleaches mold stains while disinfecting.
Tip: Never mix hydrogen peroxide and vinegar in the same bottle — they react to form peracetic acid, which is unstable and potentially harmful.
Method 3: Bleach (For Severe or Stubborn Mold)
Bleach (sodium hypochlorite) is a strong disinfectant. It kills most mold species on non-porous surfaces like tiles and glass.
Caution:
- Only use bleach in well-ventilated areas.
- Never mix bleach with ammonia or vinegar — this produces toxic gas.
Instructions:
- Mix 1 cup bleach with 1 gallon of water.
- Apply with a sponge or spray bottle.
- Let sit for 10 minutes.
- Scrub and rinse thoroughly.
- Dry the area.
Why it works: Bleach oxidizes mold cell walls and kills spores on contact. However, it may not penetrate deeply into porous materials (like caulk or unsealed grout), so use carefully.
Step 3: Treat Problem Areas Specifically
Grout and Caulk:
- Scrub with vinegar or peroxide.
- If mold returns quickly, re-caulk using mold-resistant silicone sealant.
Shower Curtains & Liners:
- Wash in hot water with 1 cup vinegar or ½ cup baking soda.
- Dry thoroughly before rehanging.
Glass Doors and Seals:
Walk in showers have a solid surface for mold to grow on. To prevent this:
- Use a squeegee after every use to prevent mineral and mold buildup.
- Dry door seals — mold loves hiding in folds.
Step 4: Prevent Mold From Coming Back
Cleaning gets rid of mold, but prevention keeps it away. Mold needs two things to grow: moisture and organic matter. By eliminating both, you can create an environment where mold struggles to survive. Prevention is about consistency and creating habits that reduce moisture, remove food sources, and interrupt mold’s growth cycle before it begins.
Ventilation is Key:
Proper ventilation is essential for keeping your shower mold-free. After every shower, run an exhaust fan for at least 30 minutes to help expel moisture from the air. If your bathroom doesn’t have an exhaust fan, crack a window or leave the door open to allow humidity to dissipate. In bathrooms that remain damp despite ventilation efforts, consider using a dehumidifier to maintain optimal indoor humidity levels—ideally below 50 percent.
Daily Maintenance Tips:
Simple daily habits can have a big impact on mold prevention. After each shower, take a moment to wipe down the walls and glass doors to remove residual water. Shake out your shower curtain so it dries faster, and make sure it isn’t sticking to the tub or walls. Hang towels and bath mats where they can dry fully between uses to prevent them from becoming breeding grounds for mold.
Weekly Mold Prevention Routine:
Incorporating a short weekly routine can reinforce your daily efforts. Spray your shower walls with white vinegar once a week; there’s no need to rinse—just let it air dry. Vinegar’s acidity disrupts mold’s ability to grow. Scrub grout lines monthly using a baking soda paste to remove any buildup that might attract mold spores. Don’t forget to toss your shower curtain or liner into the laundry every other week to keep it fresh and free of mildew.
Use Mold-Resistant Products:
Your choice of materials can also influence mold growth. Use paints, sealants, and caulks that are labeled “mildew-resistant”—these are specially formulated with antimicrobial agents. When it comes to shower liners, select ones made from PEVA (polyethylene vinyl acetate), a non-toxic material that’s naturally resistant to mold and mildew compared to traditional PVC.
Mold spores are always in the air, so the goal isn’t total elimination — it’s removing the conditions that allow them to grow.
When Should You Call the Pros for Mold Removal?
If you’ve followed all the steps and mold still returns quickly, it may be a sign of a deeper problem. Warning indicators include a strong, musty odor that doesn’t go away, the appearance of black streaks spreading across drywall, visible mold growth in ceilings or ventilation ducts, or worsening allergy and asthma symptoms among household members.
When any of these issues arise, it’s time to call a mold remediation specialist. Persistent mold often indicates hidden growth behind tile, under flooring, or inside walls—areas that require professional assessment and, in some cases, the removal of affected building materials and even a shower replacement.

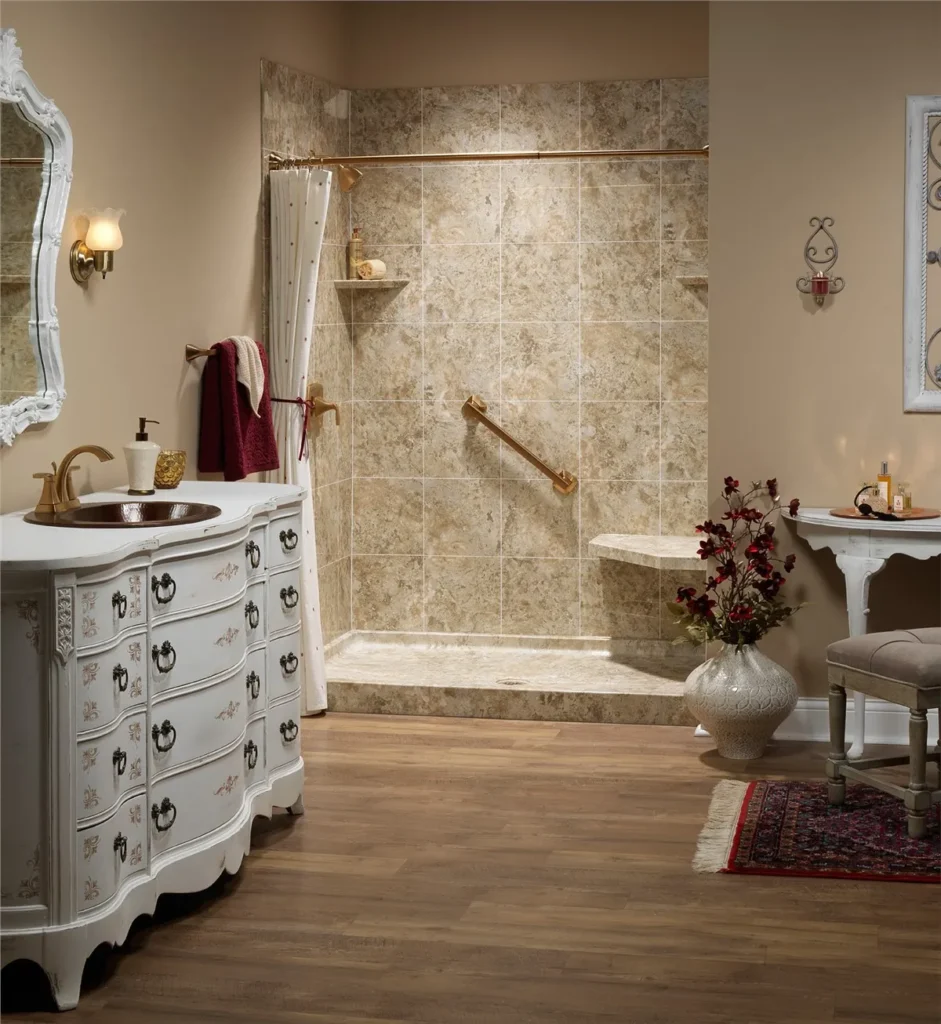
A Mold-Free Shower Is Within Reach
Mold doesn’t have to be your shower’s permanent roommate. With a little science, regular cleaning, the right tools, and some routine maintenance, you can take control of the situation — and breathe easier (literally).
At Bath Planet of Eastern Michigan, we know your shower should be a place of refreshment, not frustration. Take back your bathroom today — one scrub at a time. If you need the help of a professional, or want to replace your shower, please contact us today!